 Add Row
  Add
Add 


Transform Your Space: Painting a Popcorn Ceiling Made Easy
Are you ready to give your home a fresh look? Painting a popcorn ceiling might seem daunting at first, but with the right tools and approach, you can achieve professional-looking results yourself! This guide is designed to help you navigate this task safely and effectively.
Understanding Popcorn Ceilings
Popcorn ceilings, once a popular choice in many homes, can capture dust and dirt, making them appear dingy over time. If you’ve ever tried cleaning one, you know it can be frustrating. The good news is that you can easily revitalize these surfaces with a splash of paint. However, it’s crucial to consider your long-term plans, as painting over textured ceilings may complicate future removal processes.
Safety First: Is There Asbestos?
If your home was constructed in the late 20th century, there’s a chance your popcorn ceiling may contain asbestos, a hazardous material known to pose health risks. To be safe, check the installation date of your ceiling, and if unsure, consider having a sample tested. Always wear protective gear like masks and safety goggles if you choose to proceed without professional assistance.
Gather Your Tools!
Before diving into this project, make sure you have all the necessary supplies at your fingertips:
- Angled paintbrush
- Drop cloths or plastic tarps
- Thick nap roller
- Paint tray
- Painter’s tape
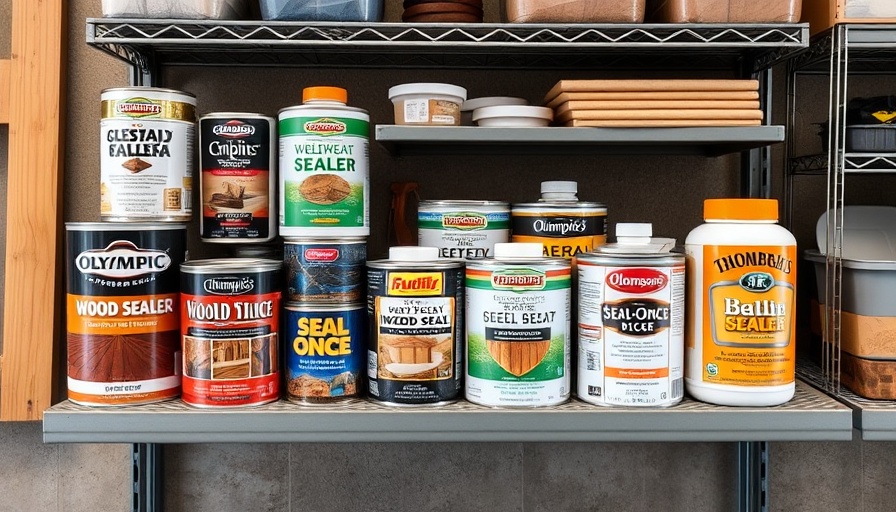
- Primer and Ceiling paint
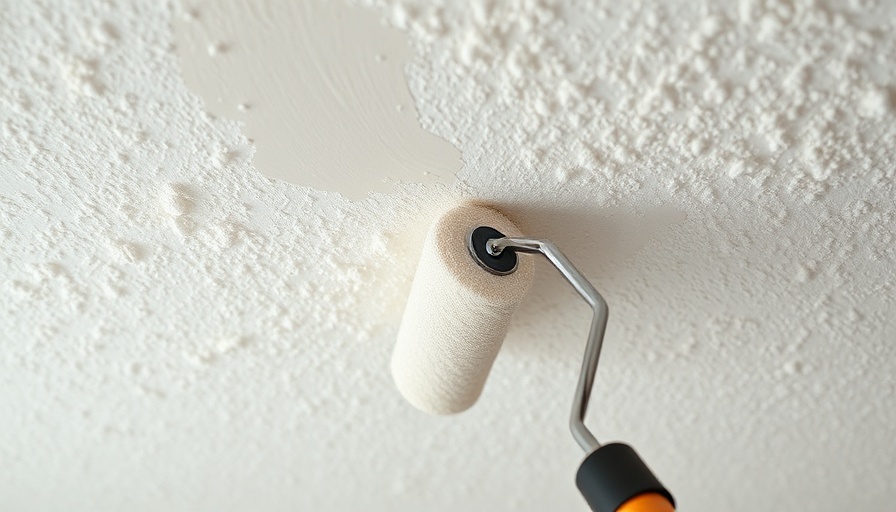
Using the right equipment, particularly the thick nap roller, is key to ensuring your paint adheres well to the texture.
Step-by-Step Guide to Painting
Follow these steps for a successful paint job:
- Mask your Ceiling: Start by cleaning the surface to eliminate dust. Then, use painter’s tape around the edges to prevent any paint from bleeding onto the walls.
- Protect Surroundings: Lay down drop cloths or tarps to shield your floors and furniture from splatters. Remember to wear old clothes as well!
- Prime Your Surface: If the ceiling has never been painted before, applying primer will help the paint adhere better. This is especially important for textured surfaces.
- Chose the Right Paint: Opt for a paint specifically designed for ceilings, ideally one that can hide any imperfections and won't yellow over time.
- Roll It On: With your thick nap roller, apply even strokes to ensure full coverage without losing the texture appearance.
- Inspect and Touch Up: After the paint dries, inspect the surface for any areas that may need an additional coat or touch-up.
Congratulations, You’re a DIY Pro!
With some effort and careful planning, you can transform your popcorn ceiling with ease! Take pride in your work; not only has it enhanced your home’s appearance, but you've also gained valuable skills. Share your experience with friends and family! They might be inspired to tackle their own DIY projects.
If you're looking for more home improvement tips and tricks, don't hesitate to seek out community workshops or local DIY classes. Remember, every great transformation starts with a small step!
Conclusion: Elevate Your Home’s Aesthetic
Refreshing a popcorn ceiling isn’t just about paint; it’s about revitalizing your space. It can uplift the entire mood of a room, making it feel brighter and more inviting. So, roll up those sleeves and take on the challenge; you won’t regret it!


 Add Row
  Add
Add 
Write A Comment