 Add Row
  Add
Add 


Mastering the Art of Drywall Repair
As a homeowner, one of the most valuable skills you can acquire is the ability to repair drywall. Small holes and cracks can take away from the aesthetics of your home, yet many are surprised at how simple and quick it is to fix them. With just a few materials and tools, you can achieve professional-looking results, making your living space more inviting.
Why Proper Repair Matters
Letting holes and damages linger can lead to more significant issues down the line, including moisture damage and pest infestations. Moreover, a well-maintained interior speaks volumes about homeowner care and can enhance the value of your property. Paying attention to these minor imperfections allows for greater peace of mind and contributes positively to the overall atmosphere of your home.
The Essential Tools and Materials
Before embarking on your repair project, gather the necessary tools and materials to ensure a smooth process. Basic items include:
- Putty knife – Ideal for applying spackle.
- Fine-grit sanding sponge – Helps in getting a smooth finish.
- Work light – A tool that illuminates your work area, revealing imperfections.
- Spackle – Look for lightweight, non-shrinking compounds for the best results.
- Paint and brushes – To finish the job and blend the repair with the existing wall.
A Step-by-Step Guide to Fixing Drywall
1. Turn on a work light: Position a work light to better see the imperfections on your wall. This step is vital to ensuring that no flaws are overlooked.
2. Sand-off loose peeling drywall: Use your fine-grit sanding sponge or putty knife to gently smooth the area around the hole, preparing it for spackle application.
3. Remove drywall dust: After sanding, ensure the area is free from dust using a clean, damp shop rag. This helps the spackle adhere effectively.
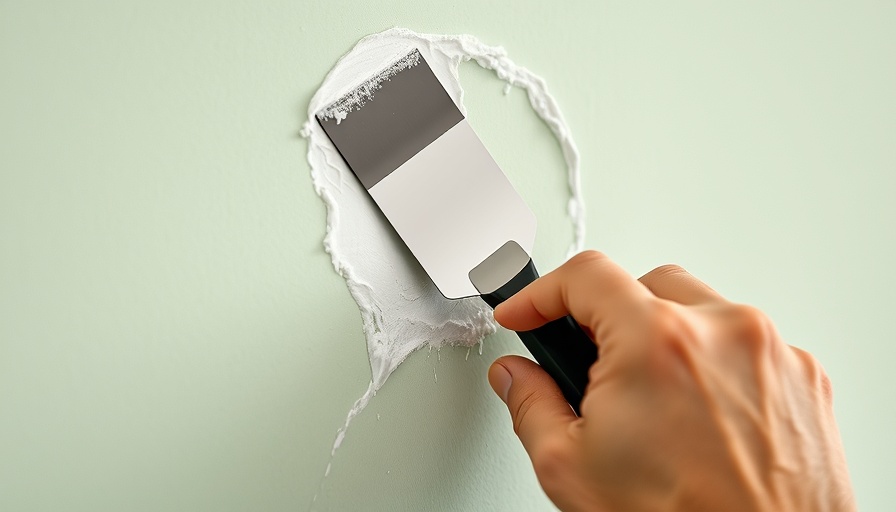
4. Apply drywall spackle: With your putty knife, fill the hole with spackle, pressing down firmly for an even application. Allow the spackle to dry completely - approximately one to five hours, depending on conditions.
5. Sand the dried spackle: Once dry, sand the repaired area until it’s flush with the surrounding wall.
6. Paint the surface: Finally, touch up with matching paint, and your repair is complete!
Common Mistakes to Avoid
Although drywall repair may seem straightforward, there are a few common pitfalls to avoid. Rushing the drying time of the spackle is a frequent mistake. Waiting until it's fully cured ensures a better finish and prevents the need for reapplication. Similarly, overlooking dust removal can hinder the smoothness of the repair, leading to unsatisfactory outcomes.
Empowering Homeowners with DIY Skills
For homeowners looking to enhance their DIY skills, mastering drywall repair can be both its own reward and a stepping stone to larger projects. Not only can it save money on hiring professionals, but it gives you the satisfaction of knowing you've improved your home.
With just a few simple steps and some preparation, anyone can tackle drywall repairs confidently.
By refining this skill, you can not only maintain your home’s aesthetics but also embark on more advanced remodeling tasks. Embrace the joy of DIY projects and keep your living spaces in tip-top shape!
For those looking to further upgrade their home improvement toolkit, explore other homeowner tips and tricks that can transform any project into a successful endeavor!


Write A Comment