Mastering Drywall Repair: A Necessity for Every Homeowner
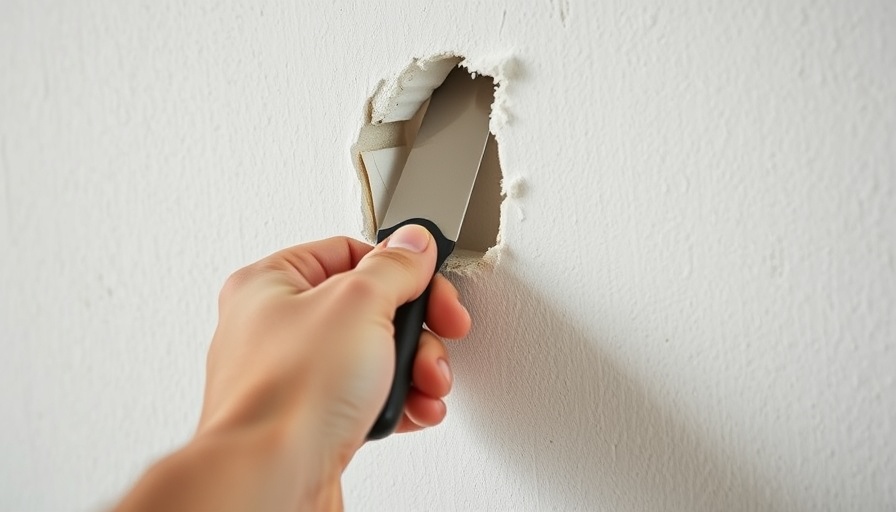
For homeowners aged 35-60, understanding how to maintain one's home is an empowering skill. One common household issue that often arises is the appearance of small holes and cracks in drywall. Whether caused by wear and tear or the occasional mishap, fixing these imperfections can save you costly repair bills and restore the aesthetics of your living space. Fortunately, repairing drywall is simpler than you might think, and can be accomplished in just six straightforward steps.
What You’ll Need: Simple Tools for Your Drywall Repair
Before diving into the steps of fixing your drywall, it's essential to have the right tools at hand. For a successful repair, gather the following items:
- Putty Knife: Ideal for applying spackle smoothly.
- Fine-grit Sanding Sponge: For smoothing out the surface before and after applying spackle.
- Clean Rags: To wipe down the area and remove dust.
- Paint: To touch up once your repair is complete.
- Work Light: This can help you identify more holes and imperfections.
Step-by-Step Guide to Fixing Small Drywall Holes
Let’s break down the repair process into clear steps:
Step 1: Illuminate Your Workspace
Before you start, position your work light to shine on the drywall. This will help you see all the defects you might not notice otherwise. Proper lighting reveals hidden holes and ensures a comprehensive repair job.
Step 2: Sand Down Loose Edges
Use a fine-grit sanding sponge to level the area around the hole. If there are any rough edges, sanding them down will create a smooth surface for the spackle to adhere. This step is vital for achieving professional-looking results.
Step 3: Cleanup is Key
Once you've sanded, it's crucial to remove dust from the surface. Utilize a damp rag to wipe down the area, ensuring that it’s clean and dry before moving on to the next step.
Step 4: Apply Your Spackle
With a clean putty knife, apply the spackle over the hole. Spread it evenly, pressing down to ensure it fills the indentation completely. This step may take some patience, but it's essential for a seamless finish.
Step 5: Wait for Drying
Depending on the type of spackle, the drying time can vary from one to five hours. It's vital to allow it to dry completely before proceeding to the next step. Rushing this could lead to poor results.
Step 6: Sand and Paint
Once the spackle is dry, grab your sanding sponge again. Smooth the area to blend it nicely with the surrounding drywall. Finally, touch up the paint to match the rest of your wall.
Why Knowing How to Fix Drywall Is Important
By learning to repair drywall, homeowners not only save money but also gain a sense of accomplishment. Tackling small home repair projects builds confidence and fortifies your capability to handle household responsibilities. Improved aesthetics from well-maintained walls can also enhance the overall value of your property.
The Benefits of DIY Repairs
Whether you're preparing to sell your home or simply enjoy the satisfaction of home maintenance, knowing how to fix drywall is invaluable. It'll empower you to create a pleasant living environment for yourself and your family, turning a tedious chore into a rewarding experience.
So, why not pick up the tools and tackle that drywall repair today? Your walls will thank you!
 Add Row
  Add
Add 


 Add Row
  Add
Add 

Write A Comment