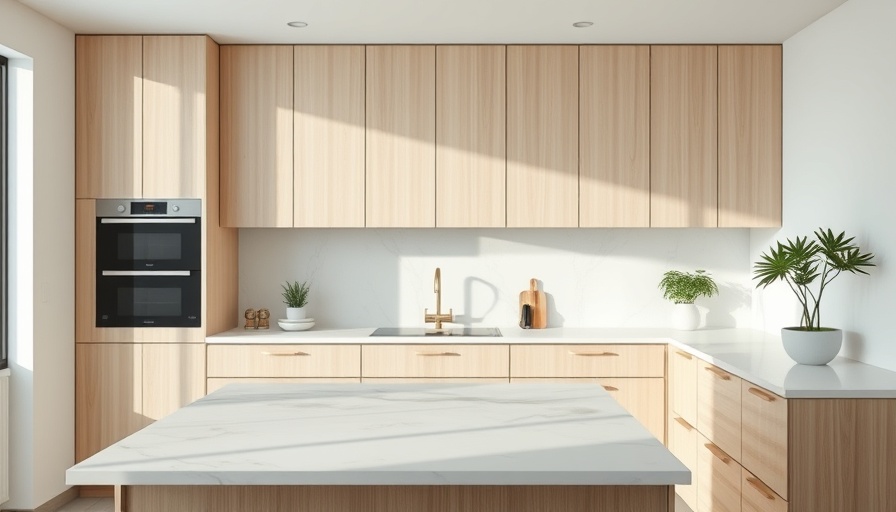
A Beginner’s Guide to DIY Kitchen Countertop Installation
Upgrading your kitchen countertops can seem like a daunting task, especially if you’ve never tackled a DIY project before. However, with the right tools and a simple plan, you can transform your kitchen into a stylish space without breaking the bank. This guide will break down the process of installing kitchen countertops into manageable steps, making it perfect for homeowners aged 35-60 looking to add a personal touch to their kitchens.
Understanding the Importance of Kitchen Countertops
Your kitchen countertops serve as the heart of your culinary activities. They are not just functional surfaces; they are a highly visible part of your home’s design. When guests visit, the first thing they often notice are the countertops. By updating them, you can create a lasting impression that reflects your personal style.
Essential Tools and Materials for Your Project
Before you start, gather these essential tools and materials:
- 2-ft. or 4-ft. levels
- Caulk gun
- Drill
- Framing or drywall square
- Painter’s rags
- Pre-drill bit
- Portable sawhorses
- Straightedge
- Track saw, circular saw, or jigsaw
- Countertops (choose laminate or wood)
- Caulk
- Painter's tape
- Screws
Having the right tools on hand is crucial to achieving a smooth installation process, so double-check your list before starting.
Step-by-Step Installation Process
Follow these six steps to install your kitchen countertops:
1. Verify Cabinet Levels
Start by checking that your cabinet tops are level using a two or four-foot level. If they’re not level, you can adjust the countertops during installation by using shims. This step is crucial for ensuring that your countertops sit evenly and look professional.
2. Dry Fit and Mark Countertops
Before making any cuts, dry fit the countertop sections on your cabinets. This testing phase allows you to assess the fit and plan any necessary cuts. Always keep the manufactured edges at the ends to create a polished look. Make sure to check for wall irregularities; seldom are walls perfectly straight — this small step can save you a lot of trouble later.
3. Make Precise Cuts
Once you’ve marked your final cut lines based on the dry fit, use a saw to make the necessary cuts. Remember to account for any imperfections in your walls. Even slight adjustments will make a significant difference in how the seams look after installation.
4. Secure the Countertops
With the countertop pieces cut, it’s time to secure them to the cabinets. Use screws to hold them in place, ensuring they’re tight against the cabinet framework.
5. Caulk and Seal the Edges
Once everything is installed, apply caulk around the edges where the countertop meets the wall and cabinets to create a watertight seal, adding to the finished look.
6. Final Touches
Make sure to clean off any excess caulk and give the countertops a final polish before you start using the new space.
Conclusion and Call to Action
With these steps, your DIY kitchen countertop installation can be a rewarding experience. Remember, the process is all about taking your time and paying attention to those little details that can make a big difference. So roll up your sleeves, get those tools ready, and dive into your exciting new project. If you want more expert tips and exciting DIY projects to undertake, sign up for our newsletter today!
 Add Row
  Add
Add 


 Add Row
  Add
Add 

Write A Comment