 Add Row
  Add
Add 


A Comprehensive Guide to Painting Your Popcorn Ceiling
If you're looking to freshen up a room by painting your popcorn ceiling, you're not alone. Despite the popularity of smooth walls, many homes still feature textured ceilings that require a little extra care during the renovation process. Here’s a detailed guide on how to paint a popcorn ceiling effectively, ensuring a professional finish without sacrificing your safety.
Understanding Popcorn Ceilings
Popcorn ceilings, which emerged in the 1950s, were once a popular choice for their aesthetic appeal and sound-dampening qualities. However, as home decor has evolved, these textured ceilings have become less desirable. They can trap dust and grime over time, giving them a dingy appearance. Homeowners often face the dilemma of whether to paint over these ceilings or consider removal, which can be an arduous and costly process.
Safety First: Checking for Asbestos
Before you grab your paintbrush, it's crucial to assess the potential hazards associated with your popcorn ceiling. Ceilings installed before the 1980s may contain asbestos, a substance known for its serious health risks. If you're uncertain about the installation date, consider sending a sample to a local home center for analysis. Should asbestos be present, it’s advisable to consult with professionals rather than attempting a DIY solution.
Essential Tools and Materials
Successfully painting a popcorn ceiling requires the right tools and materials. Here’s what you need:
- Angled paintbrush
- Thick nap roller
- Paint roller and tray
- Painter's tape
- Drop cloths or plastic tarps
- Ceiling paint and primer
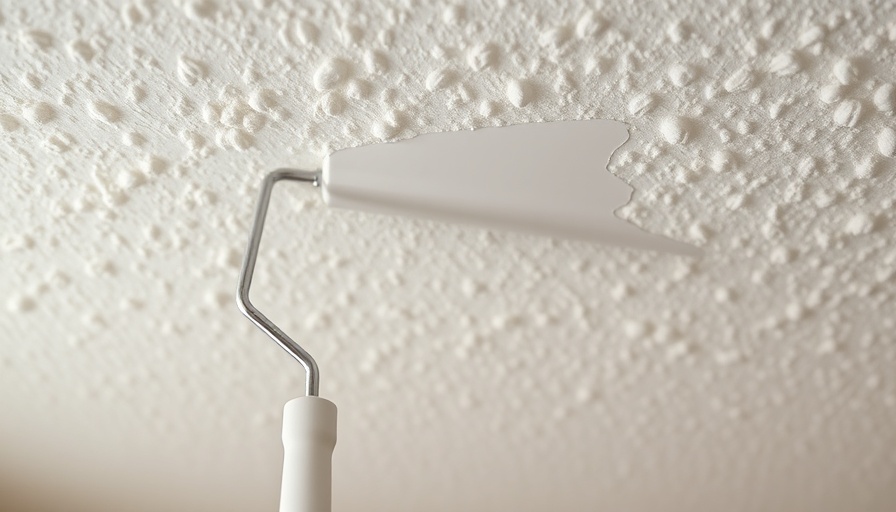
Using a thick nap roller is particularly important because it allows the paint to penetrate the texture of the ceiling effectively, resulting in an even coat.
Step-By-Step Painting Process
1. Prepare the Area
Prior to painting, it’s essential to prepare your workspace. Start by cleaning the ceiling thoroughly to remove any dust and debris. This will ensure better paint adhesion.
2. Mask Off Edges
Using painter’s tape, mask off the edges of the ceiling to prevent paint from bleeding onto the walls. This is especially crucial if you plan to paint the ceiling a different color than the walls.
3. Protect Your Furniture and Floors
Laying down drop cloths will help catch any splatter or drips. Since thick nap rollers can produce extra paint splatter, covering your furniture and flooring will minimize potential mishaps.
4. Apply Primer
If you're making a significant color change or covering stains, applying a primer first can help ensure a uniform finish. Allow the primer to dry completely before proceeding.
5. Painting the Ceiling
Using the thick nap roller, start painting from one corner of the ceiling, working your way across. For the best results, apply two coats of paint, allowing each coat to dry fully before applying the next.
6. Final Touches
After painting, remove the painter's tape carefully to ensure clean lines. Inspect the ceiling for any missed spots and touch them up as needed.
The Benefits of Freshening Up
Painting your popcorn ceiling can revitalize a room, making it feel fresh and welcoming. This relatively inexpensive project can significantly enhance the aesthetic appeal of your home, increase property value, and create a space that reflects your personal style. Even if you opt for a simple white ceiling, the outcome can transform the entire room.
In summary, if you're ready to tackle your popcorn ceiling, approach the project with the right tools and precautions. With safety in mind and a little preparation, you'll find that painting your ceiling can be a rewarding DIY endeavor. Ready to get started on your home improvement journey? Gather your materials and create a fresh new look for your space!


Write A Comment